2002 - 2009 (and now 2014+, kind of) Honda VFR 800 Interceptor Modification Page
Site Owner: Sean
Murphy
VFR@seantmurphy.com
Please be sure to visit our sponsors. They keep the lights on around here, thank you.


Exhaust Baffle Removal
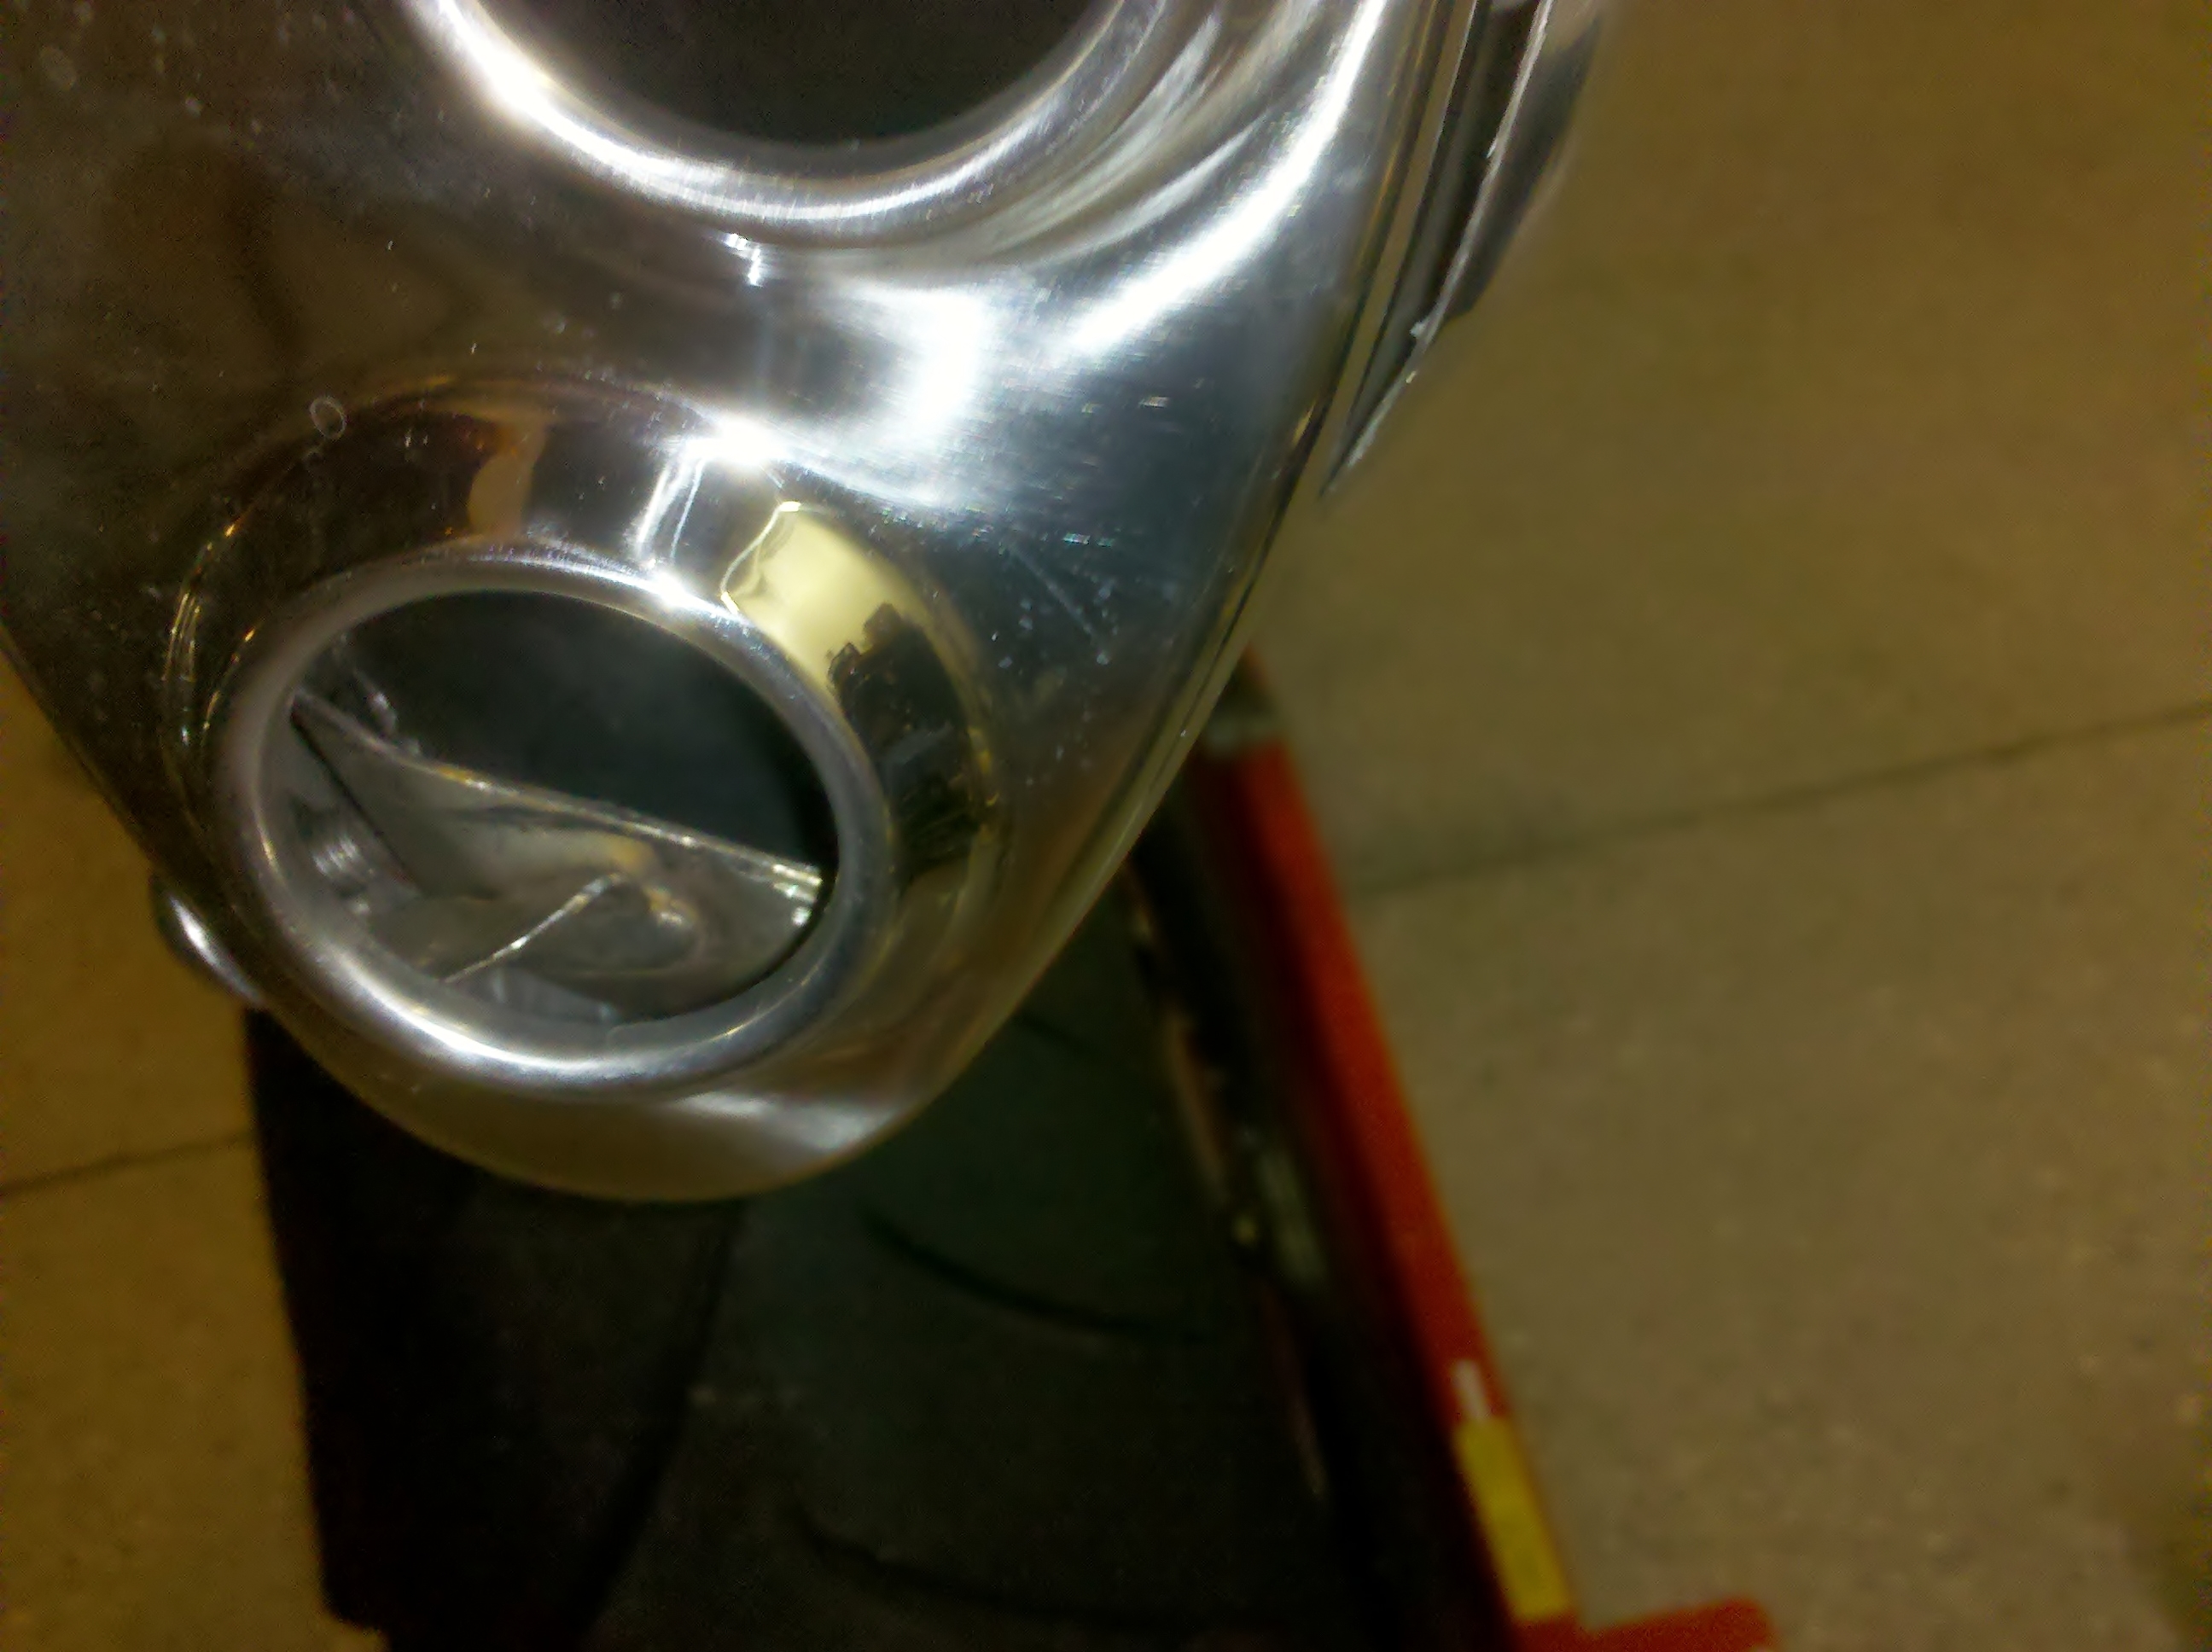
This one is one of the more difficult modification to do without needing a welder. Now if you have a welder and can weld, this should be a snap. First let me say I did not remove the catalytic converter. You need a welder to properly remove the cat to reduce back pressure fully, although this will help when combined with the VAIV, PAIR, and Snorkel removal in the above modification. The pictures during the build were lost, so I can just show you the after pictures. You will need the following tools: Dremel with flex shaft attachment, Dremel reinforced cut-off wheels, two 16" needle nose pliers, needle nose pliers, razor cutter, Dremel sanding discs and a metal file. Start by loosening the bolts where the exhaust meets the cat and remove your rear fairing. Then remove the hanger bolts for the exhaust and lower it onto the rear tire. Remove the shields and make sure you have the rubber tab inserts and the two rubber hex spacers (small items look around). You can then remove the exhaust (it can be done without removing the rear tire, just wiggle it). Now the fun begins... Cut along the weld seam for the end cap but cut across at a 45° angle where the end cap shield nut support is located so you can reattach your end cap shield. See first picture, bottom exhaust outlet, you can see the only part of the end cap left. Once that is done, use the cut-off wheel to go around the baffle following the holes in a row about 2" at a time. You will then need to use the pliers to fold in the baffle to get it past the end cap portion you did not cut off for the end cap shield retaining nut. (Now if you can weld, just cut the cap off and pull the whole thing out and weld the cap back on and done.) Keep cutting the baffle like this all the way to the end using the Dremel flex shaft and extended needle nose pliers as you get deeper. Now reaseble in reverse. The exhaust sounds like a ALMS car rumble from the V-4, but not as loud as a Harley. Love it! Total Time: 4 Hours
|
All trademarks and copyrights are the property of their respective owners.
Copyright © 1994 - 2018, all rights reserved.